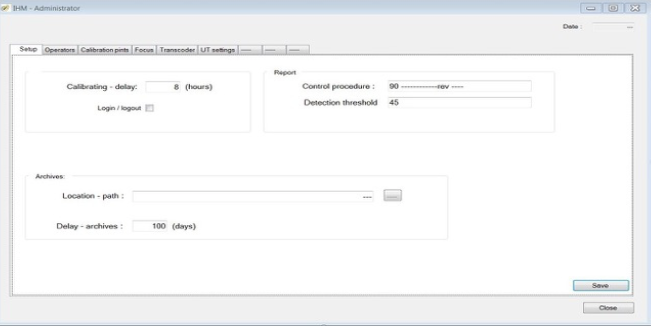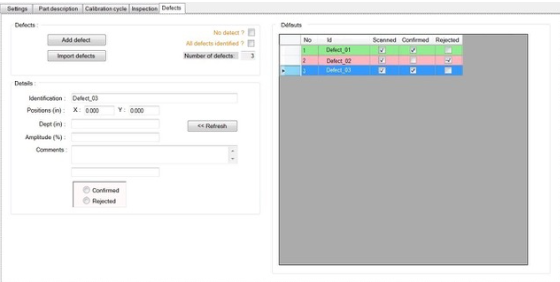
The UT Supervisor takes control of all operations. It is based on the Internet of Things (IoT) principle where all “things” are connected together. NDT systems have important data that can be shared and used to improve product quality and plant productivity. While NDT lags when it comes to connecting to the shop floor, the NDT process can definitively be integrated. UTSup is adapted to your operations. For this software, the UT acquisition, PLC, part follow-up, calibration, personnel qualification, calibration standards are all connected. As data is monitored, NDT personnel and quality managers can conduct analyses to pull more value from that data as plants gradually move from reactive to proactive operations. After inspection, the system analyzes all information and show all defects. Special image algorithms may also be used to group indications. This comprehensive approach goes beyond merely ingesting data to perform analytics on the real-time data stream.
When defects appear or trends are showing managers can react by fixing the process prior to NDT and can also study the event data to foresee and prevent similar events from happening in the future.
UTSUP
Typically, the process begins with automated calibration. The system, based on a set of parameters, automatically request a calibration check. In an automated system, the proper standards are used and the system only allows inspection if the check calibration routine is successful. The calibration sequence includes a verification that all delays laws are operational.
Phased Array probe calibration may be required and if so the system will monitor each delay to ensure the probe is working properly or not near failure. Once the analysis is done, re-scan can be done automatically in the area of interest and on request, a full inspection report is produced.
The following data can be monitored and extracted from your analysis:
System Data:
- Uptime
- Number of parts inspected
- Time of day
- Cycle time
- Calibration time
Defect Information:
- Types of defects
- Length and sizes, amplitude, depth
- Defects
- False calls
Process:
- parts awaiting inspection
- automated vs proof inspection
- NDT methods efficiency
Machine operation:
- monitoring transducer efficiency
- out of tolerance components
- calibration requirement
Personnel:
- operation qualification time
- operator efficiency
Benefits:
It also shows some additional or, let’s say, more detailed use cases and the benefits they offer, including:
- Monitor NDT efficiency
- defect detection
- false calls
- Optimize process flow;
- using NDT data, manufacturing can adapt their process to defect found
- parts can be directed to NDT to match system availability
- Condition-based maintenance alerts:
- optimize machine availability
- minimize interruption and
- increase throughput.
- Training
- operator qualification requirements
- operation efficiency
- Usage of various data as a driver of quality monitoring and enhancement in function of outcomes


